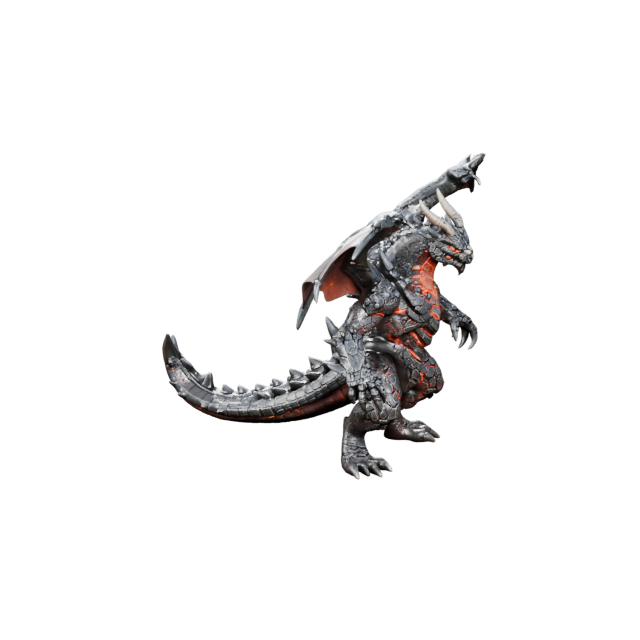
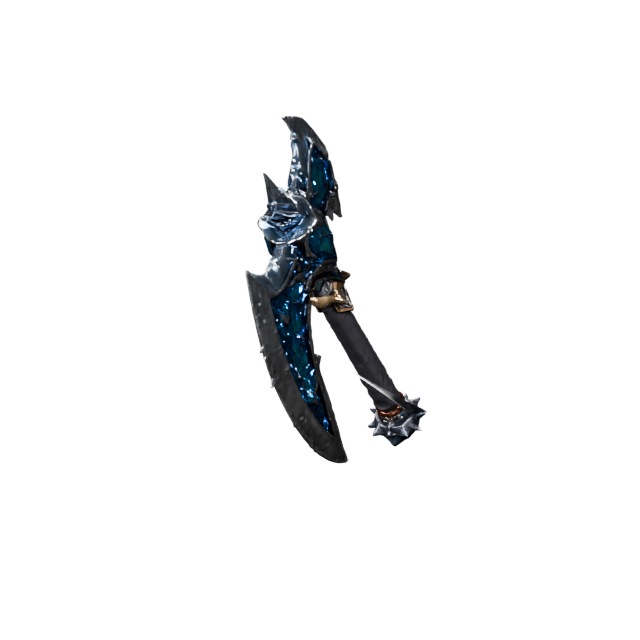
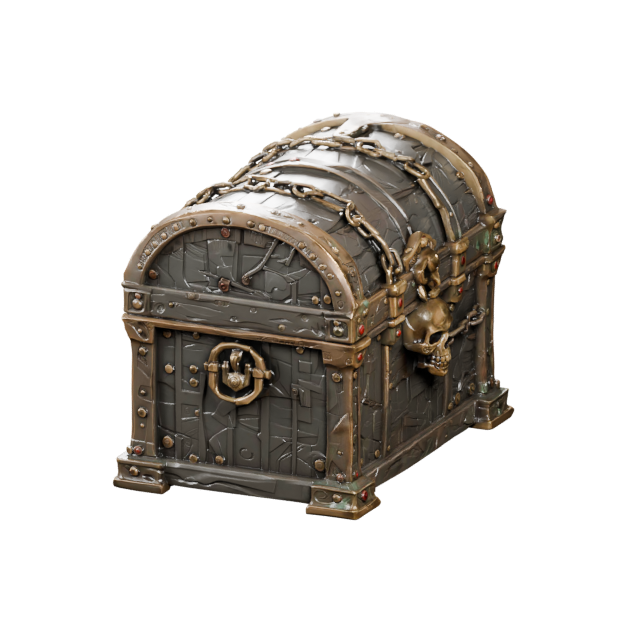
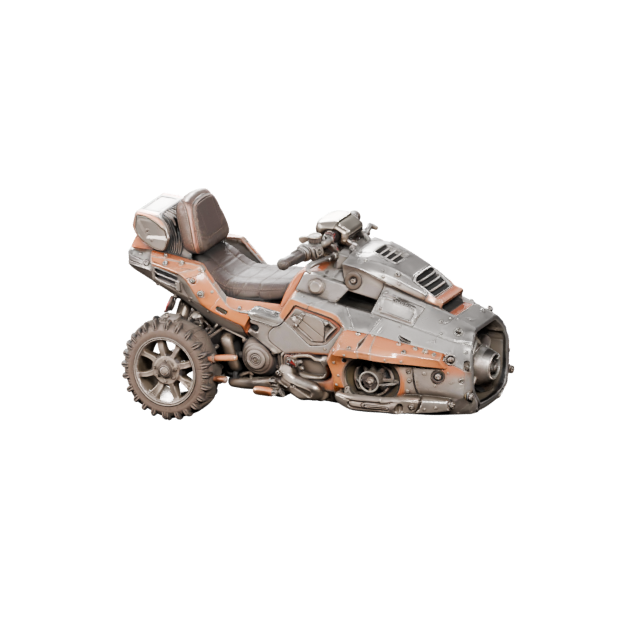
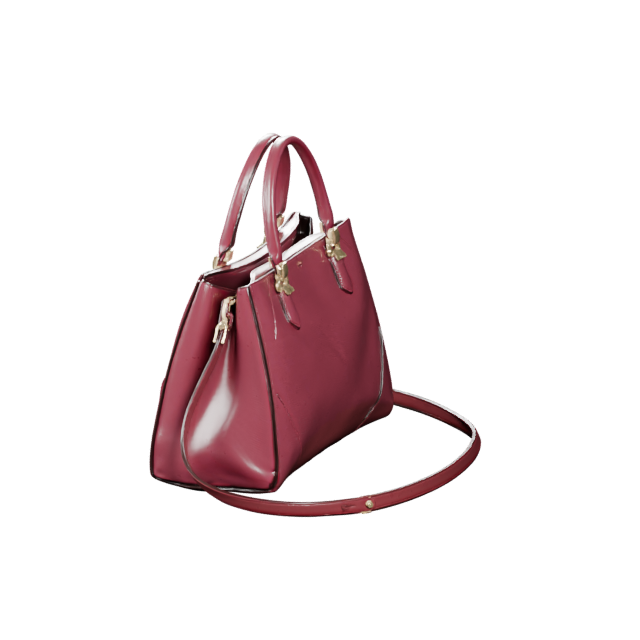
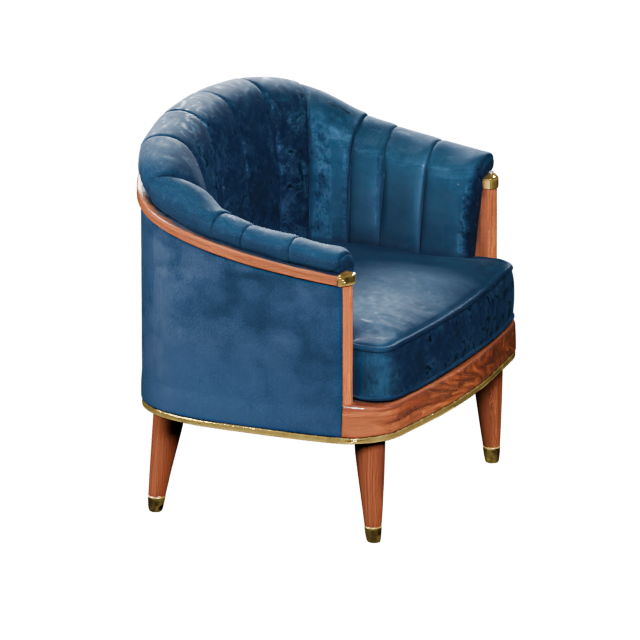
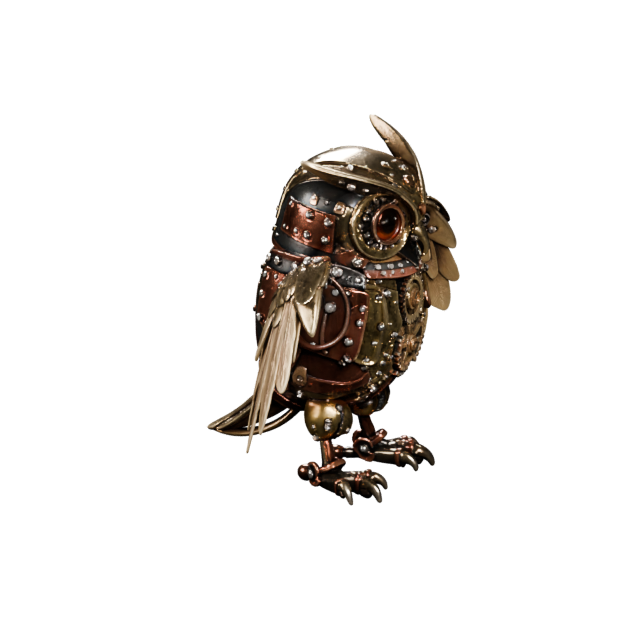

Upload a clear reference image.
Choose a JPG, JPEG, PNG, or WebP file with one complete subject. Keep it centered, fully visible, and separated from the background.
 AIto3D.ai
Sign in or create your account to generate and manage your AI 3D models.
By continuing, you agree to our Terms and Privacy Policy.
Turn a photo, product image, sketch, illustration, or concept art into a downloadable 3D model. Upload one clear image, choose your texture, geometry, and mesh settings, then generate a model you can preview and export online.
Image to 3D uses visual cues from a two-dimensional reference to reconstruct a three-dimensional mesh. The system analyzes the subject’s silhouette, proportions, visible depth, colors, and surface details, then estimates the hidden sides so the result can be rotated and exported.
AIto3D.ai works with product photos, sketches, illustrations, concept art, and AI-generated images. When the back or side details matter, use multiple consistent views for stronger guidance.
Upload an image
Go from one reference image to a downloadable 3D model through a focused online workflow—without setting up traditional modeling software first.
Choose a JPG, JPEG, PNG, or WebP file with one complete subject. Keep it centered, fully visible, and separated from the background.
Select PBR materials, texture quality, geometry quality, and a triangle or quad mesh. The required credits update before generation.
Create the model, rotate it in your browser, inspect its geometry and materials, then export the format that fits your project.
The reference image gives the generator most of the information it has about the object. A clean image with a complete subject usually produces a more consistent model.
Each control changes a different part of the output. Use balanced settings for quick concepts, or prioritize detail when shape, materials, and editability matter more.
Enable PBR when you want surfaces that respond more naturally to light. It is useful for product visualization, games, AR, and polished previews.
Choose None for a geometry-only draft, Standard for a balanced textured model, or Detailed when surface appearance is a priority.
Standard is practical for quick concepts and general assets. Detailed prioritizes shape fidelity and smaller structural features.
Triangles provide broad compatibility and are a common default for real-time, web, viewing, and many export workflows.
Quads can be easier to edit, sculpt, or prepare for animation. Always inspect topology before using a generated model in production.
The required credits update as you change texture, geometry, and mesh settings, so you can see the total before generating.
Use a single image for fast visual concepts, product assets, game props, 3D printing starts, web experiences, and creative projects.
Turn character art, props, weapons, vehicles, and environment concepts into starting assets for game development.
Create product concepts and 3D mockups from clear references for early form review, presentation, and iteration.
Generate a starting mesh, export STL or 3MF, then inspect scale, walls, small parts, and printability before production.
Create 3D product views, renders, and visual assets for listings, product pages, catalogs, and presentation workflows.
Create GLB or USDZ assets for browser-based viewers, interactive product experiences, and augmented reality previews.
Convert mascots, figurines, toys, creatures, and stylized illustrations into rotatable 3D models and prototypes.
Continue working with the software and workflow you already use. Generated assets can be downloaded or converted for web 3D, game engines, design tools, AR, and 3D printing.
A single image is ideal for speed. Multiple views provide more direct visual information when hidden surfaces and exact proportions are important.
Use one image when you need a fast 3D starting point from a clear photo or illustration and the most important features are visible in one view.
Use multiple images when the sides, back, depth, proportions, or asymmetrical details are important to the final model.
Learn which images work best, how the settings affect output, and how generated models fit into real 3D workflows.
Contact supportImage to 3D is an AI-assisted process that creates a three-dimensional mesh from a two-dimensional reference image. The system estimates depth, shape, hidden surfaces, and surface appearance so the result can be rotated and exported as a 3D file.
Yes. Upload one clear photo, product image, AI-generated image, illustration, concept art, or sketch with a complete subject. A single image is best for fast concepts and objects whose most important features are visible from one angle.
Use one complete subject, a simple background, clear edges, even lighting, and minimal obstruction. Avoid heavily cropped objects, crowded scenes, extreme perspective, transparent surfaces, and important parts hidden outside the frame.
AIto3D.ai supports JPG, JPEG, PNG, and WebP reference images up to 10 MB.
Yes. Select a texture quality and enable PBR materials to create a model with richer colors, surface appearance, and more natural lighting response.
Triangle meshes provide broad compatibility and are commonly used in real-time 3D workflows. Quad meshes can be easier to edit, sculpt, or prepare for animation, but you should still inspect the topology before production use.
AIto3D.ai supports common formats including GLB, OBJ, FBX, STL, PLY, USDZ, and 3MF. The best format depends on whether you plan to use the model for editing, games, web 3D, AR, rendering, or 3D printing.
Yes. Download the model and continue working in compatible 3D software. Depending on your project, you may want to adjust topology, UVs, textures, scale, rigging, printability, or small geometric details.
You can export STL or 3MF for a 3D printing workflow. Before printing, inspect the scale, wall thickness, small parts, manifold geometry, and overall printability of the model.
Use multiple images when one view does not show enough of the object’s back, sides, depth, proportions, or structure. Front, side, and back references should show the same object with consistent colors and design details.
If a generation fails and no usable 3D model is created, the credits used for that failed generation are automatically returned to your account.
Commercial use depends on your account plan, the applicable license terms, your source image, and any third-party rights. Review the AIto3D Commercial License before commercial use.
Upload a photo, product image, sketch, illustration, or concept art. Choose your settings, generate the model, and export it for your next 3D workflow.